Tips & techniques for the best results
You always want the best results in all your crafting projects and T-shirt Coloring is no different. When you have gathered together all the bits you need to start coloring your t-shirt make sure you have a good sized flat working space, preferably a desk that you can sit comfortably at for a good coloring session. If you have not got all the things you need yet take a look at our Getting Started with coloring t-shirts with fabric markers blog post to get you going. When you are settled and comfortable at your working space and have good lighting along with all the things you need within easy reach you are ready to begin.
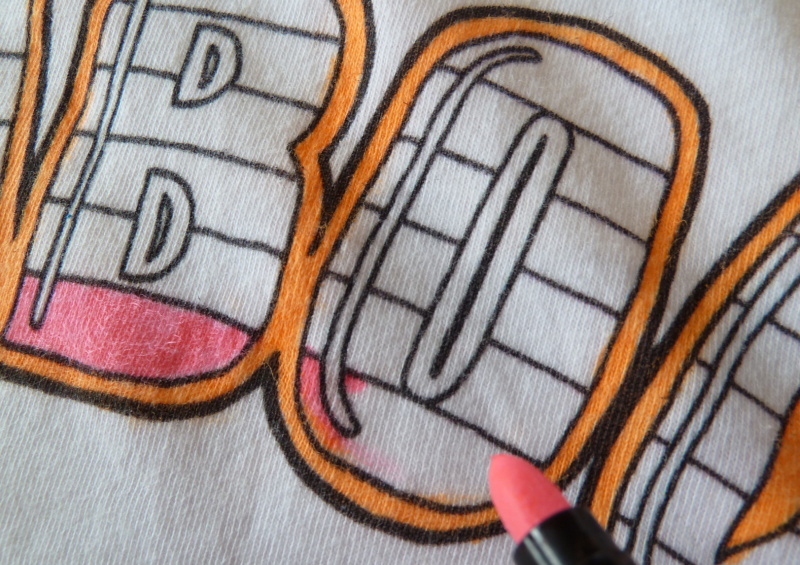
1) Check your fabric pens work before you start
Check your pens work and have a good amount of ink. The last thing you want is for your pens to run out in the middle of coloring your t-shirt especially if you are filling a big area. Test your pens out on a small scrap piece of paper before you begin and if the ink is thin or dry and scratchy you may want to choose another pen or place an order for some new fabric pens. Look out for good coverage, and check you have nib sizes that are right for the job. You can get thick, medium and thin nibbed pens to you can do everything from covering big areas fast to getting into very details spots without going over the edges of your design.
T-shirt Coloring:
Good fabric markers are important
2) Prevent ink bleeding through
It is a very good idea to place a sheet of card or a couple of pieces of paper inside your chosen t-shirt before you start coloring. Make sure it is bigger than the coloring area you are about to tackle and underneath the first layer of fabric. This is intended to act as a barrier to prevent ink you are adding from leaking through to the back of the t-shirt by mistake. Ink bleeding through can be more of a problem with newer fabric pens and markers with a runnier ink so make sure you are protected.
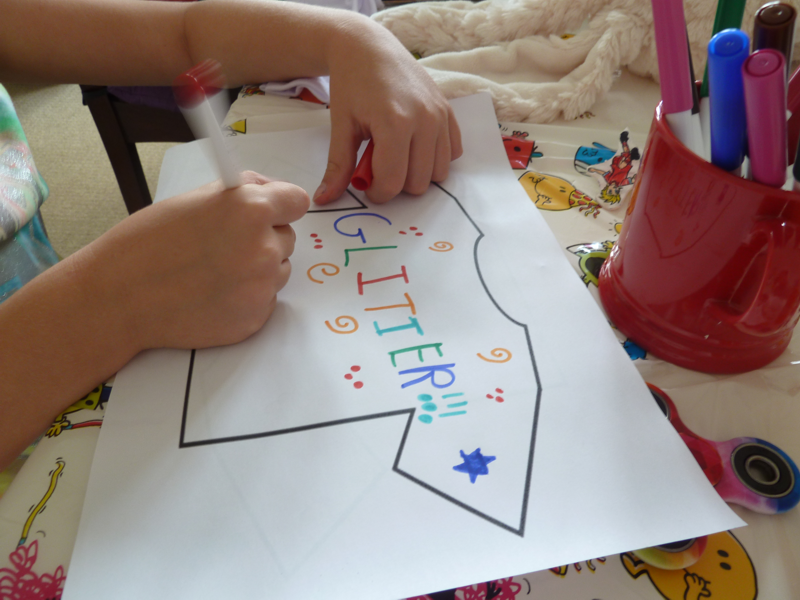
3) Practice your design
If you are starting with a blank t-shirt before you start coloring it is a good idea to work out the right layout. Practicing with normal felt-tip pens on a piece of paper of a similar size to the front of your t-shirt helps you make sure you can get things in the right place and not run out of space. This is very helpful when coloring a t-shirt design that has lettering. The last thing you want is to start a word and then find you have to shrink your letters at the end where you start running out of space. Working out the optimum size of lettering and other design elements makes the end result more accurate and professional! If you need some inspiration browse our gallery of t-shirts for coloring in.
T-shirt Coloring
Pre-printed designs ready to color.
If you are starting with a pre-printed t-shirt design that is ready to color, before you start we recommend practicing a little coloring in a coloring book to warm up your hands and get you ready for the real thing. Remember, practice makes perfect and it is tricky to undo a mistake if you make one on a t-shirt.
4) Color Fast
Depending on the fabric markers you are using to color your t-shirt always make sure you read the instructions and the guidance about how to make the color fix on the t-shirt. Some markers do not need any additional steps however we have seen some that require you leave your finished t-shirt for a few hours before wearing or washing, and some require a high heat to make color-fast - The heat source is often an iron that is applied over a sheet of protecting paper over the design for a couple of minutes. Read the instructions carefully and make sure you follow them to get the most out of your coloring. This will help you avoid all the color coming out in the wash!!
What next?
Browse through our blog for tips and techniques and other interesting snippets we hope will help you on your t-shirt coloring journey.